Knitting Tips by Judy

Knitting Tips by Judy
|
|---|
| Celebrities |
|---|
| Getting Started |
| Yarns |
| Accessories |
| How To |
| Abbreviations |
Videos |
| Basic Stitches |
| More Tips |
| Books |
| Links |
| Charity Knitting |
| Patterns |
| About Me |
| Contact |
| HOME |
| Blog |
FOR SALE |
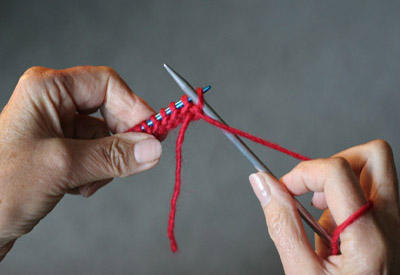
.1.Turn the needle with the stitches on it over.
2. Hold the needle with the stitches in your left hand and the empty needle in your right hand and the loose end hanging in FRONT of your work. The needles should be pointed toward one another.
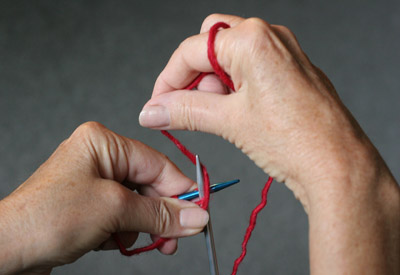
3. Insert the right needle through the front of the stitch on left needle. The needles will form an "X" with the right needle on top of the left needle. Make sure that the yarn is in FRONT of the needle.
4. Keep the needles crossed in the "X" position by holding both needles with the thumb, index and middle fingers of your left hand. Do this by holding the right needle with the thumb nail on top facing you, and the nails of the index and middle fingers underneath that right needle and facing away. Wrap the yarn around front needle, counterclockwise, from the back bringing the yarn around and in front of the right needle.
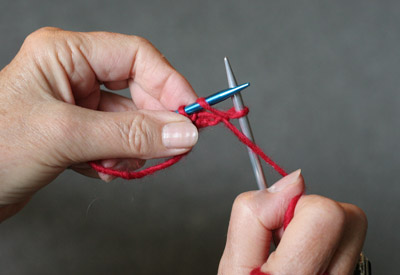
5. Holding the yarn in place around the needle with thumb and index finger of your right hand, push the right needle down and away from you through the center of the stitch on the left needle The right needle will now be behind the left needle.
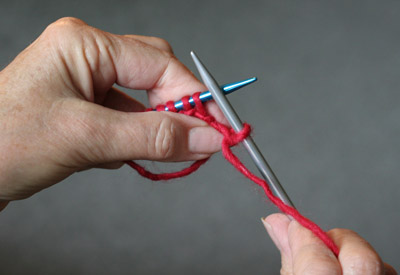
6. Pull the remaining yarn off the left hand by pulling the right needle to the right so the newly formed stitch slides off the left needle onto the right needle.
Continue to end of row and all the stitches are on the right needle.
You have Purled your first row.